In previous blogs we used setup() and loop() to write single programs. That loop() runs forever, repeating the same code again and again. This concept is called “super loop”. It’s perfectly fine for blinking an LED or reading a sensor once in a while, but when we need our device to do multiple things like reading a sensor, updating a screen, and controlling a motor, it gets messy.
That’s where an RTOS (Real-Time Operating System) comes in. As the name suggests, it’s designed to help your device respond to the outside world in a timely and predictable way. It is a super lightweight OS designed specifically for embedded systems. Its main job is to schedule tasks (small blocks of code) in a deterministic way. In other words, when you say “this must happen in 2 milliseconds,” it actually does. an RTOS focuses on doing fewer things, really well and really fast. But how can we try out a real-time operating system?
FreeRTOS is one of the most popular real time operating systems in the embedded world. It’s open-source, widely supported, and small enough to run on a basic microcontroller. That’s why we will try it out in our ESP32.
How it works?
FreeRTOS is free, it is real time, but i’m not sure about the last two letters. Even their website describes FreeRTOS as a “real-time kernel”. So it’s a good time to revisit some basics about computers.
The kernel is the most important part of an OS. It acts as the bridge between hardware and software. It decides what the processor should do next. In most general-purpose OSes, the kernel allows many users and programs to seem like they’re running at the same time. This illusion is made possible by a concept called multitasking.
Multitasking means breaking the processor’s time into small slices and switching between different tasks really fast. As humans we also try this, and it’s also called multitasking, but we suck at it. Thankfully, computers can switch context at incredible speeds, and they do it very efficiently without forgetting what each task was doing. The kernel does this by a component called the scheduler.
In FreeRTOS, we assign a priority to each task. The scheduler follows a simple rule: always run the highest-priority task that’s ready to go. If two or more tasks share the same top priority, FreeRTOS can share processor time between them “fairly” using time slicing.

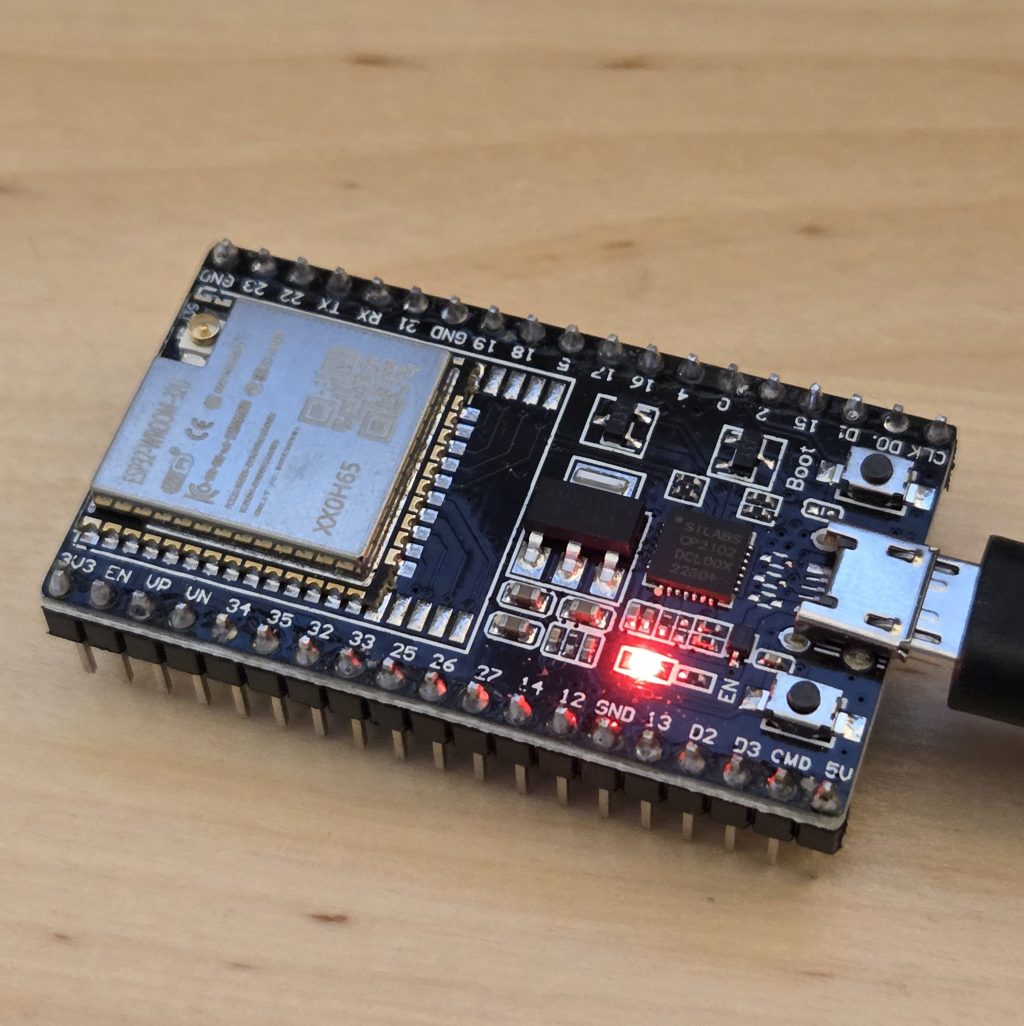
Now we grab our ESP32 (ESP-WROOM-32) and set it up with ESP-IDF, the official development framework from Espressif. It comes with FreeRTOS built in, so we can create real multitasking programs with tasks, timers, queues, and more. The FreeRTOS inside ESP-IDF isn’t “vanilla” FreeRTOS — it’s a modified version, customized by Espressif to better fit the ESP32’s hardware and features. If you’ve heard the term “vanilla” used in other contexts (like JavaScript), it typically refers to the original, unmodified version.
This modified version, often referred to as IDF FreeRTOS, supports Symmetric Multiprocessing (SMP) — meaning it can run tasks across both cores of the ESP32 (yes, ESP32 has two cores.) In contrast, the Vanilla FreeRTOS only supports one core.
But to keep things simple for now, we will use CONFIG_FREERTOS_UNICORE to run FreeRTOS only on the first core.
Tasks
We said that FreeRTOS can share processor time between them using time slicing. But what do we mean by a “slice”? In FreeRTOS, time is divided into small, regular units called ticks — usually 1 millisecond each. So every 1 millisecond, the scheduler should decide if it should switch to another task or not (this is insane to think about). Not only that, but the scheduler constantly monitors the ready tasks, so if a more important task becomes available, it doesn’t even wait for 1 ms and switches.
There are 4 states of a task: Ready, Running, Blocked, and Suspended.
When you create a task it starts its life with a ready state. When the scheduler selects the task and assigns CPU, its state becomes running.
If the task is waiting for an event or a resource it goes into a temporary state called “Blocked”. When the wait is over it automatically transitions into ready state.
A task enters the Suspended state because it has been explicitly put into this state, either by itself or by another task with vTaskSuspend(). The transition back to the Ready state from the Suspended state is manual and requires an explicit call to vTaskResume() by another task.
Again, just like in the first blog post, I have to complain about naming conventions—why didn’t they call Blocked “Wait” and Suspended “Sleep”? I guess those terms might have different meanings in the OS world. Feel free to roast me in the comments if you have experience in this field.
Hands-on (kind of)
Let’s imagine we’re building a line-following robot. We won’t need any motors or sensors just yet — this version is fully simulated using Serial.println() messages. Since we have an ESP32, we continue with the ESP-IDF version of FreeRTOS. Let’s connect our board to the PC, open the Arduino IDE and select the board as ESP32.
We’ll simulate:
- A sensor task that “reads” the line every 500ms
- A drive task that decides motor speed every 100ms
- A comms task that waits for commands from a remote (starts disabled)
- A status task that checks if everything is okay every 2 seconds
xTaskCreate() creates a task in the original FreeRTOS. In IDF FreeTOS xTaskCreatePinnedToCore() is used for creating a task. Only difference from the original is that you can specify the task’s core with an xCoreID parameter.
With this line:
xTaskCreatePinnedToCore(commsTask, "CommsTask", 2048, NULL, 1, &commsTaskHandle, core);
We’re telling FreeRTOS:
- create a task that runs the function commsTask,
- give it a name (‘CommsTask’),
- allocate 2048 words of stack space for it,
- don’t pass it any parameters (NULL),
- give it a priority of 1,
- store its handle in commsTaskHandle,
- and make sure it runs on the CPU core defined by the core variable (either 0 or 1).”
Let’s write down all of our tasks:
xTaskCreatePinnedToCore(commsTask,  "CommsTask",  2048, NULL, 1, &commsTaskHandle,  core);
xTaskCreatePinnedToCore(sensorTask, "SensorTask", 2048, NULL, 2, &sensorTaskHandle, core);
xTaskCreatePinnedToCore(statusTask, "StatusTask", 2048, NULL, 2, &statusTaskHandle, core);
xTaskCreatePinnedToCore(driveTask,  "DriveTask",  2048, NULL, 3, &driveTaskHandle,  core);
What is the number one priority in your life? In FreeRTOS, the meaning is a little different. Higher number means higher priority in freertos. so when we look at these tasks and their priorities:
Priority 3 → driveTask → Motor control is the most important
Priority 2 → sensorTask & statusTask → Important, but they take turns.
Priority 1 → commsTask → Runs only when no one else is using the CPU.
Also, what do we mean by handles? When you create a task, FreeRTOS gives you a special reference to it: the TaskHandle. You can store this handle in a variable and use it later to suspend, resume, delete or just check its state:
TaskHandle_t sensorTaskHandle;
TaskHandle_t driveTaskHandle;
TaskHandle_t commsTaskHandle;
TaskHandle_t statusTaskHandle;
Let’s look at one of our tasks — the one that simulates measuring distance every 5 seconds:
// Reads a distance sensor every 500 ms
void sensorTask(void* param) {
  while (true) {
    Serial.println("[Sensor] Measuring distance");
    vTaskDelay(pdMS_TO_TICKS(5000));
  }
}
The task runs forever because of the while (true) loop.
- It prints a message saying it’s measuring distance.
- Then it waits 5 seconds (5000 ms) before doing it again.
- vTaskDelay() stops using the CPU during that time, allowing other tasks to run.
Here’s the final code:
// Task handles
TaskHandle_t sensorTaskHandle;
TaskHandle_t driveTaskHandle;
TaskHandle_t commsTaskHandle;
TaskHandle_t statusTaskHandle;

// Reads a distance sensor every 500 ms
void sensorTask(void* param) {
  while (true) {
    Serial.println("[Sensor] Measuring distance");
    vTaskDelay(pdMS_TO_TICKS(5000));
  }
}

// Runs the motor control loop every 100 ms
void driveTask(void* param) {
  while (true) {
    Serial.println("[Drive] Updating motor speeds");
    vTaskDelay(pdMS_TO_TICKS(1000));
  }
}

// Waits for remote commands, starts suspended
void commsTask(void* param) {
  while (true) {
    Serial.println("[Comms] Waiting for command");
    vTaskDelay(pdMS_TO_TICKS(10000));
  }
}

// Reports system status every 2 seconds
void statusTask(void* param) {
  while (true) {
    Serial.println("[Status] All systems nominal");
    vTaskDelay(pdMS_TO_TICKS(2000));
  }
}

// Timer callback to enable communications
void startComms(TimerHandle_t) {
  Serial.println("[Timer] Enabling communications");
  vTaskResume(commsTaskHandle);
}

void setup() {
  Serial.begin(115200);
  vTaskDelay(pdMS_TO_TICKS(1000));

  BaseType_t core = 1;

  xTaskCreatePinnedToCore(commsTask,  "CommsTask",  2048, NULL, 1, &commsTaskHandle,  core);
  xTaskCreatePinnedToCore(sensorTask, "SensorTask", 2048, NULL, 2, &sensorTaskHandle, core);
  xTaskCreatePinnedToCore(statusTask, "StatusTask", 2048, NULL, 2, &statusTaskHandle, core);
  xTaskCreatePinnedToCore(driveTask,  "DriveTask",  2048, NULL, 3, &driveTaskHandle,  core);

  // Start commsTask suspended until timer fires
  vTaskSuspend(commsTaskHandle);

  TimerHandle_t timer = xTimerCreate(
    "CommsStart",
    pdMS_TO_TICKS(5000),
    pdFALSE,
    NULL,
    startComms
  );
  xTimerStart(timer, 0);
}

void loop() {
  // No code here; tasks handle everything
}

Yorum bırakın